


In WooCommerce.External/associated productsare products that are not sold directly in your store and are usually linked to other websites. In this way, you can offer your customers more choices and earn referral commissions at the same time. In this article, we'll go over how to WooCommerceAdd external/associated productsThe
Step 1: Login to WordPress Backend
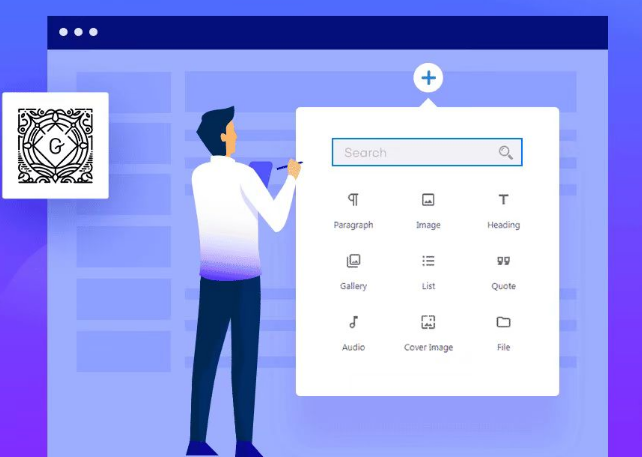
Step 2: Add new products
- In the left menu, select "offerings" > "Add New Product".
![图片[1]-WooCommerce入门指南:添加外部/关联产品-光子波动网 | 专业WordPress修复服务,全球范围,快速响应](https://www.361sale.com/wp-content/uploads/2024/09/2024092510290380.png)
- In the edit page that opens, fill in the following information:
- Diethylammonium chloride: Enter the name of the external product you want to add.
- Product Description: Describe the product in detail in the large text box, including its features and uses.
![图片[2]-WooCommerce入门指南:添加外部/关联产品-光子波动网 | 专业WordPress修复服务,全球范围,快速响应](https://www.361sale.com/wp-content/uploads/2024/09/2024092510310093.png)
Step 3: Set the product type
- In "Product Data"section, find"Product Type"Drop-down menu.
- Select "External/Associated Products" from the drop-down menu.
![图片[3]-WooCommerce入门指南:添加外部/关联产品-光子波动网 | 专业WordPress修复服务,全球范围,快速响应](https://www.361sale.com/wp-content/uploads/2024/09/2024092510315533.png)
Step 4: Fill in the product information
- Product Links: in "Product URL" field to enter a link where the customer can purchase the product (for example, a link to Amazon or another e-commerce site).
- Button Text: in "Button Text" field to enter the text of the button you wish to display (e.g. "Buy Now").
- prices: Enter the price of the product. You can leave this blank if you don't intend to display the price.
![图片[4]-WooCommerce入门指南:添加外部/关联产品-光子波动网 | 专业WordPress修复服务,全球范围,快速响应](https://www.361sale.com/wp-content/uploads/2024/09/2024092510334647.png)
Step 5: Add Product Images
- In the "Product Image" section on the right, click "Set Product Image" to upload the main image of the product.
![图片[5]-WooCommerce入门指南:添加外部/关联产品-光子波动网 | 专业WordPress修复服务,全球范围,快速响应](https://www.361sale.com/wp-content/uploads/2024/09/2024092510344525.png)
- If there are multiple angles or different versions of the image, you can find them in the "Product Gallery" to add more pictures.
![图片[6]-WooCommerce入门指南:添加外部/关联产品-光子波动网 | 专业WordPress修复服务,全球范围,快速响应](https://www.361sale.com/wp-content/uploads/2024/09/2024092510351875.png)
Step 6: Set up categories and tags
- In the Categorization section on the right, select the appropriate category for the product.
- Add related tags to help customers find products quickly.
![图片[7]-WooCommerce入门指南:添加外部/关联产品-光子波动网 | 专业WordPress修复服务,全球范围,快速响应](https://www.361sale.com/wp-content/uploads/2024/09/2024092510370575.png)
Step 7: Publish the product
- After confirming that all information is filled out correctly, click on "post"Button.
- The product will now be visible in your store.
Step 8: Test the product page
- View the product page on the front end to ensure all information is displayed correctly.
- Test the external link to make sure it jumps to the specified site properly.
summarize
By adding external/affiliated products to WooCommerce, you can effectively expand your product range and provide more choices for your customers, as well as earn commissions from referral links. The whole process is very simple: log in to the backend, add a new product, choose an external product type, fill in the product link and description, set the product image and category, and finally publish the product.
Link to this article:https://www.361sale.com/en/20622
The article is copyrighted and must be reproduced with attribution.


No comments