


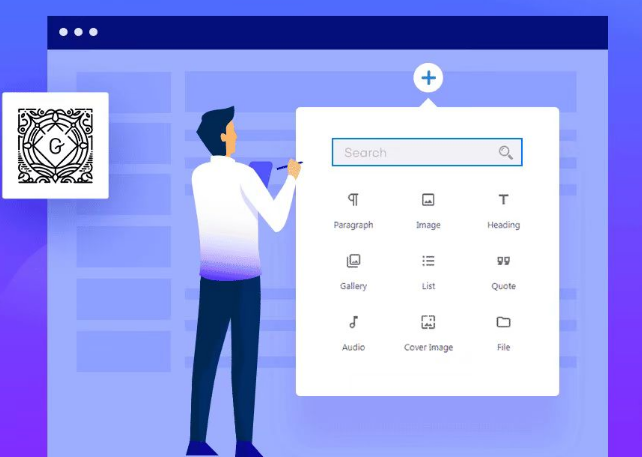
The headline is an integral part of every website design. It usually appears at the top of a web page and contains the website's logo, navigation menu, search bar, social media links and other important elements. Whether your website is a corporate website, a blog or an e-commerce platform, the headline provides the first impression to the user.
![Image [1] - Complete Guide to Creating and Editing Titles in WordPress with Elementor - Photonwave.com | Professional WordPress Repair Service, Global Reach, Fast Response](https://www.361sale.com/wp-content/uploads/2024/08/2024082204133866.png)
In this post, we're going to go over how to create, edit, and manage your website's headers in WordPress using Elementor. Whether you're new to website design or an experienced developer, this guide will provide you with practical tips and comprehensive steps to help you optimize your website's header design.
What's the title?
The Header is the important part at the top of a website page that usually contains the website's logo, navigation menu, and other key elements. Most websites use a uniform header for every page to ensure a consistent user experience when navigating the site. However, depending on the needs of the page, sometimes you may need to create custom headers for certain pages.
In Elementor, headings are used as a "Site Part" exists, which means it's a reusable part of the entire site. With Elementor's theme builder, it's easy to create, edit, and manage these headings to ensure they fit into the overall design style of the site.
I. Creating new headings
If you have not yet created a title for your site, you can easily create a new one by following these steps:
- Go to the theme builder: In the Elementor Templates menu in the WordPress backend, select "Theme builder".
![Image [2] - Complete Guide to Creating and Editing Titles in WordPress with Elementor - Photon Flux.com | Professional WordPress Repair Service, Worldwide, Fast Response](https://www.361sale.com/wp-content/uploads/2024/08/2024082203215949.png)
- Select the title section: In the theme builder interface, find the "Header" section. You will be prompted to create a new header if you haven't already done so.
- Add new title: Click on "Add New" button to start creating a new title.
![Image [3] - Complete Guide to Creating and Editing Titles in WordPress with Elementor - Photon Flux.com | Professional WordPress Repair Service, Worldwide, Fast Response](https://www.361sale.com/wp-content/uploads/2024/08/2024082203273058.png)
- Choose a template or start from scratch: Optionally, you can use the preset templates provided by Elementor, or you can design a completely customized title from scratch.
After creating a new title, you will be taken to Elementor's editor screen, where you can add and customize various elements in the title, such as logos, navigation menus, buttons, and more.
II. Editing existing titles
Having created a title and wishing to make changes to it, Elementor provides a convenient editing feature. Below are the steps to edit an existing title:
- Select the title: In the Header section of the theme builder, you'll see a list of all the headers that have been created. Click on the header tag you want to edit to open the details dashboard.
- Enter edit mode: In the title's details dashboard, click the Edit link in the upper right corner of the title, which will open the Elementor editor for that title.
![Image [4] - Complete Guide to Creating and Editing Titles in WordPress with Elementor - Photonwave.com | Professional WordPress Repair Service, Worldwide, Fast Response](https://www.361sale.com/wp-content/uploads/2024/08/2024082203295034.png)
- Customized design: In the editor, you can add or remove elements, adjust the layout, change the color scheme, and make sure the header fits the overall style of the site.
![Image [5] - Complete Guide to Creating and Editing Titles in WordPress with Elementor - Photonwave.com | Professional WordPress Repair Service, Global Reach, Fast Response](https://www.361sale.com/wp-content/uploads/2024/08/2024082203311639.png)
- Save changes: Once you've completed your edits, save the changes to ensure they take effect on the site.
III. Managing title display conditions
You may need to display different headings on different pages. For example, want to use a more complex header design on the home page and a cleaner version on the blog page.Elementor allows you to set display conditions for each header to ensure they are displayed on the correct page.
- Edit the display conditions: In the theme builder, find the title you want to edit and click on the "Edit Condition" link in the bottom left corner of the title, which will open the display condition editor.
![Image [6] - Complete Guide to Creating and Editing Titles in WordPress with Elementor - Photon Flux.com | Professional WordPress Repair Service, Worldwide, Fast Response](https://www.361sale.com/wp-content/uploads/2024/08/2024082203324875.png)
- Set the display rules: In the Display Condition Editor, you can choose whether the title will be displayed in the entire site, on a specific page, on a category page, or under other conditions.
![Image [7] - Complete Guide to Creating and Editing Titles in WordPress with Elementor - Photonwave.com | Professional WordPress Repair Service, Global Reach, Fast Response](https://www.361sale.com/wp-content/uploads/2024/08/2024082203335797.png)
- Manage drafts and event titles: The setting status of a display condition is identified by a color dot in the upper left corner of the title. A green dot indicates that the heading has been activated and applied to certain pages, while a gray dot indicates that the heading is in draft status and has not yet been assigned a display condition.
![Image [8] - Complete Guide to Creating and Editing Titles in WordPress with Elementor - Photon Flux.com | Professional WordPress Repair Service, Global Reach, Fast Response](https://www.361sale.com/wp-content/uploads/2024/08/2024082203350836.png)
Fourth, add the title HTML tags
To improve the accessibility of your website and to ensure that the content of your headings is properly recognized by screen readers, you can add HTML tags to your headings.
- Go to Title Settings: In the Elementor editor, click the Title Settings icon in the top toolbar.
![Image [9] - Complete Guide to Creating and Editing Titles in WordPress with Elementor - Photonwave.com | Professional WordPress Repair Service, Global Reach, Fast Response](https://www.361sale.com/wp-content/uploads/2024/08/2024082203360724.png)
- Select the HTML tag: In the Header Settings panel, use the drop-down menu to select the appropriate HTML tag (e.g.
,(etc.).
![Image [10] - Complete Guide to Creating and Editing Titles in WordPress with Elementor - Photonwave.com | Professional WordPress Repair Service, Global Reach, Fast Response](https://www.361sale.com/wp-content/uploads/2024/08/2024082203364176.png)
- Save the settings: When you're done, save the changes to make sure the HTML tags are applied correctly.
V. Exporting headings
In some cases, it is desirable to export the header design as a .json file for reuse in other websites or projects. Below are the steps for exporting headers:
- Select the title: In the Title section of the theme builder, find the title to export.
![Image [11] - Complete Guide to Creating and Editing Titles in WordPress with Elementor - Photonwave.com | Professional WordPress Repair Service, Global Reach, Fast Response](https://www.361sale.com/wp-content/uploads/2024/08/2024082203380181.png)
- Export Title: Click on the three horizontal dots in the upper right corner of the header and select the "Export" option. This will open the Save dialog box where you can save the .json file to your computer.
VI. Deletion of titles
If a title is no longer needed, it can be removed from the site:
- Select the title: In the Title section of the theme builder, find the title you want to delete.
- Delete the title: Click on the three horizontal dots in the upper right corner of the title and select the "Delete" option. This will open the Delete Confirmation dialog box, which will confirm that the title will be permanently deleted.
![Image [12] - Complete Guide to Creating and Editing Titles in WordPress with Elementor - Photon Flux.com | Professional WordPress Repair Service, Global Reach, Fast Response](https://www.361sale.com/wp-content/uploads/2024/08/2024082203383786.png)
- Undo Delete: If you change your mind and do not want to delete the title, you can click "Cancel" in the confirmation dialog box.
VII. Renaming of titles
Renaming headings helps to better organize and manage the various sections of your website, especially when dealing with multiple heading templates. Here are the steps to rename headings:
- Select the title: In the Title section of the Theme Builder, find the title you want to rename.
- Rename the title: Click on the three horizontal dots in the upper right corner of the title and select the "Rename" option. Enter a new name and click "Change" to complete the renaming process. If you change your mind, you can click "Cancel" to undo the operation.
![Image [13] - Complete Guide to Creating and Editing Titles in WordPress with Elementor - Photonwave.com | Professional WordPress Repair Service, Global Reach, Fast Response](https://www.361sale.com/wp-content/uploads/2024/08/2024082203391310.png)
summarize
Elementor, a powerful page builder plugin for WordPress, makes designing and managing headings on your website simple and intuitive. With Elementor, it's easy to create, edit, export, delete, and rename headers to ensure that every page of your website looks its best for users. To go further and unlock more advanced features such as global style management, custom CSS and advanced animation effects, theElementor Pro is a good choice. Not only does it offer more design freedom, but it can also help you achieve a more professional and unique presentation in all aspects of your website.
Link to this article:https://www.361sale.com/en/17338
The article is copyrighted and must be reproduced with attribution.


No comments